How to Measure Bakery Displays Before Ordering
Measure bakery displays: tray fit and replenishment, the four checks to record and the measurement record to prepare before ordering.
- Published
- 2026-09-15
- Content updated
- 2026-10-22
- Reading time
- 3 minutes
Editorial buyer guidance. Read our authorship and sourcing policy.
For bakery displays, begin with tray fit and replenishment. Compare the actual tray width with the clear opening between supports and doors. Prepare a measurement record covering tray width, tray depth, shelf spacing, door opening. Repeat the critical measurement after finishes and retained equipment are accounted for. Put unresolved dimensions on the drawing as open items rather than using an image estimate.
Three decisions for your fixture purchase.
- 01
Confirm tray fit and replenishment
- 02
Check tray width alongside tray depth
- 03
Prepare the measurement record
Measure from a fixed datum: bakery displays
Record outside dimensions separately from the usable opening. Measure the narrowest point more than once and show where each value was taken. A measurement is useful only when the next person can find the same two faces. Measure the actual tray including its rim. The display needs room for the tray and for hands to lift or slide it. Decide whether goods are packaged and how customers access them; a decorative glass enclosure does not establish temperature-control performance.
Four checks for the measurement record
Use these checks for bread and packaged bakery goods. Record the value or decision, its evidence and any unresolved point beside the fixture reference.
- tray width · Compare the actual tray width with the clear opening between supports and doors.
- tray depth · Check the loaded tray depth against the shelf, front restraint and staff lifting space.
- shelf spacing · Include the height of the baked product, labels and the lifting angle when setting the shelf interval.
- door opening · Show the door fully open and test the removal path with a representative tray.
Compare the bakery displays options
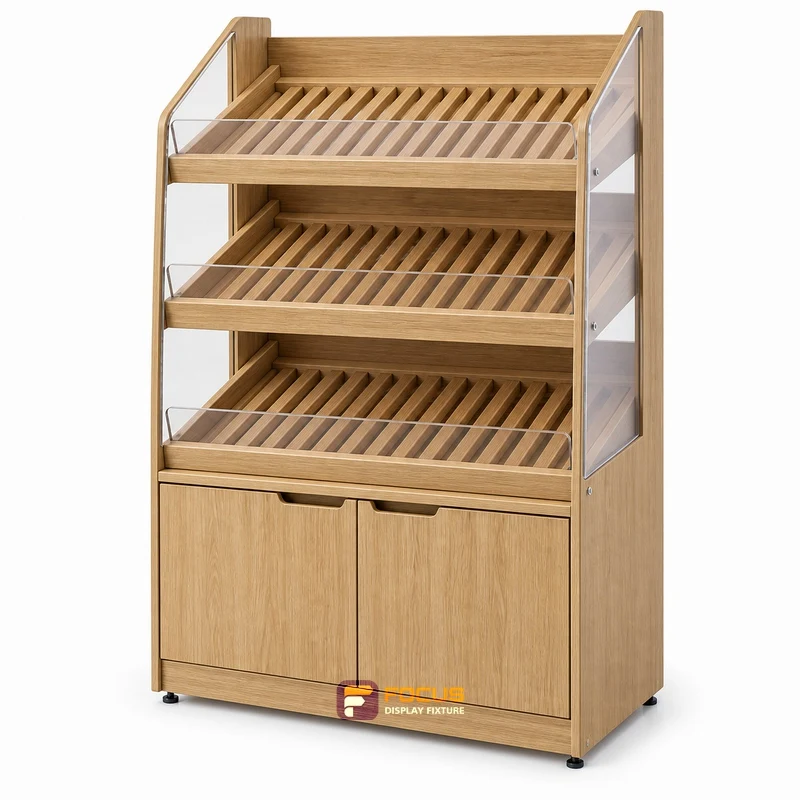
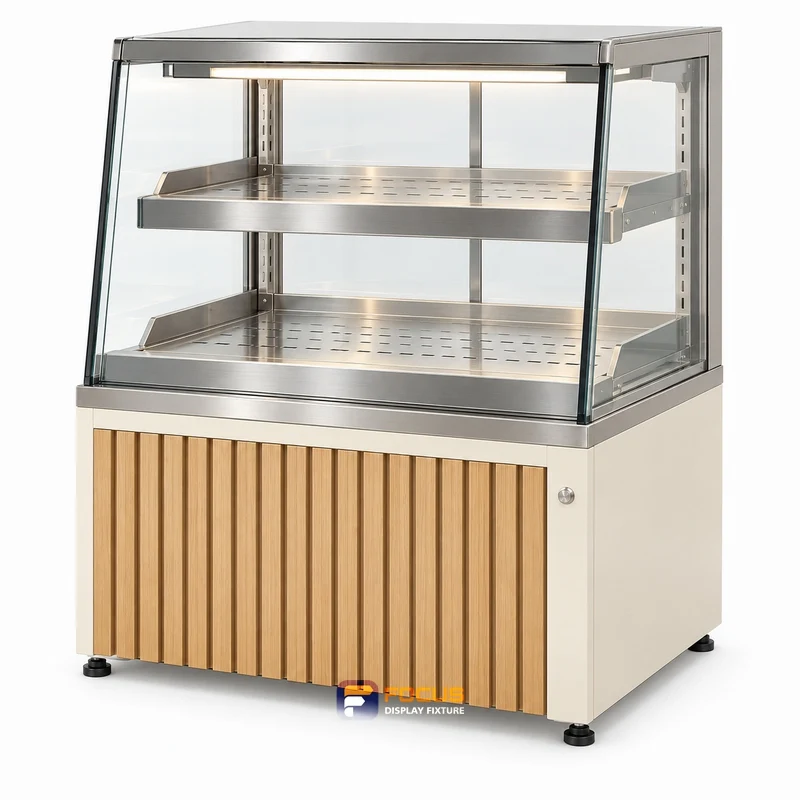
The starting arrangements are Open bakery rack, Enclosed pastry case, Countertop showcase. Compare them for bread and packaged bakery goods using the same measurement record. Measure the actual tray including its rim. The display needs room for the tray and for hands to lift or slide it. Decide whether goods are packaged and how customers access them; a decorative glass enclosure does not establish temperature-control performance.
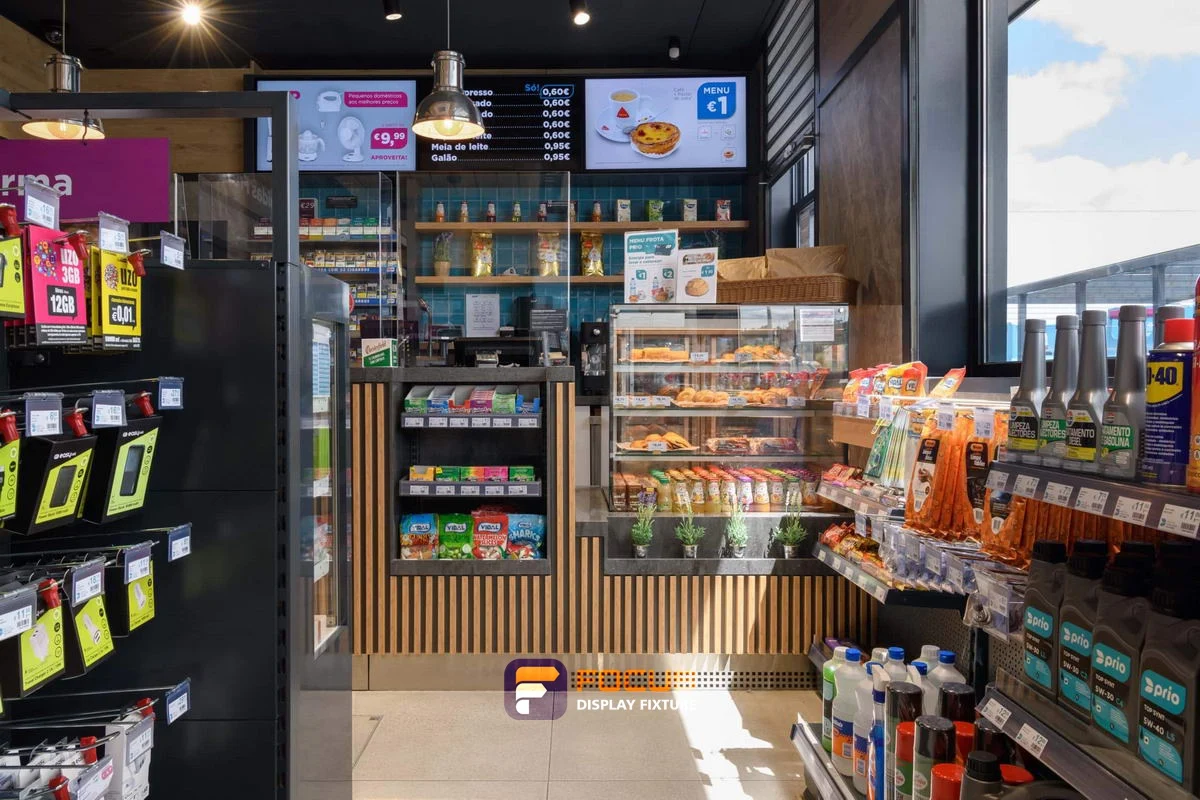
Worked planning example
Use a project-specific measurement record for bakery displays. Compare the actual tray width with the clear opening between supports and doors. Include the height of the baked product, labels and the lifting angle when setting the shelf interval. No verified overall configuration is listed for this application in the current size catalog; obtain a dimensioned drawing rather than borrowing the dimensions of a shelving unit.
Check the finished site
Repeat the critical measurement after finishes and retained equipment are accounted for. Put unresolved dimensions on the drawing as open items rather than using an image estimate. Show the door fully open and test the removal path with a representative tray.
Prevent this bakery displays mistake
Using tray nominal size instead of rim-to-rim size. Compare the actual tray width with the clear opening between supports and doors. Include the height of the baked product, labels and the lifting angle when setting the shelf interval.
What to send with the measurement record
Send the selected fixture reference, the marked drawing and the intended use for bread and packaged bakery goods. Include tray width and tray depth, then document shelf spacing and door opening. State the quantity, destination and any components supplied by others. List alternatives separately so a change of configuration does not silently change the comparison.
Translate the guidance into a specification check.
Use these parameters to record the actual merchandise, clear dimensions and configuration required for the cabinet quotation.
Source: current fixture dimension catalog. Catalog dimensions apply to the named series and arrangement; confirm the selected configuration against the project drawing.
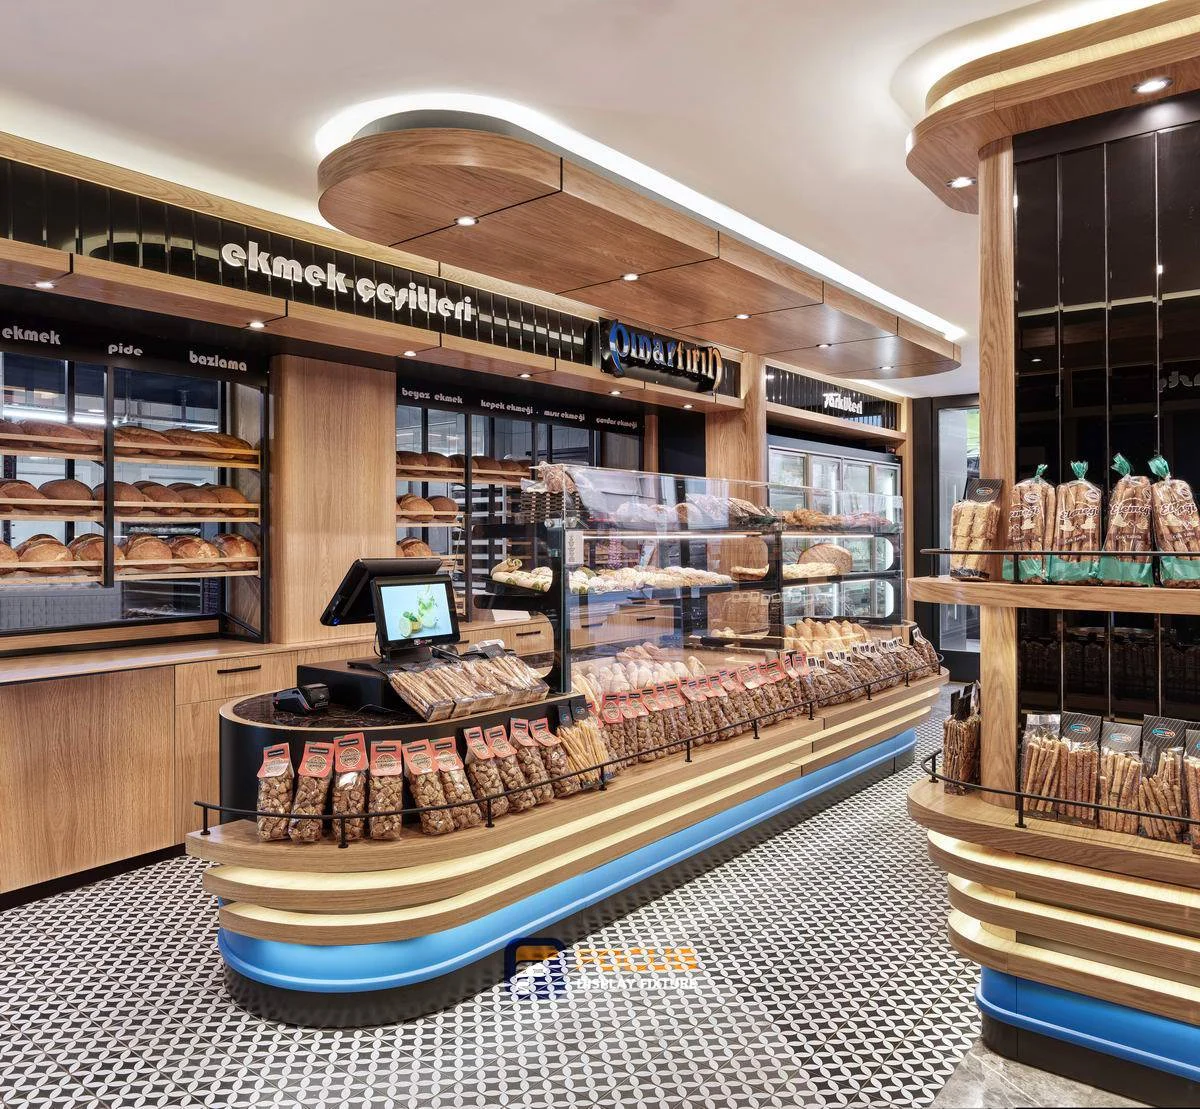
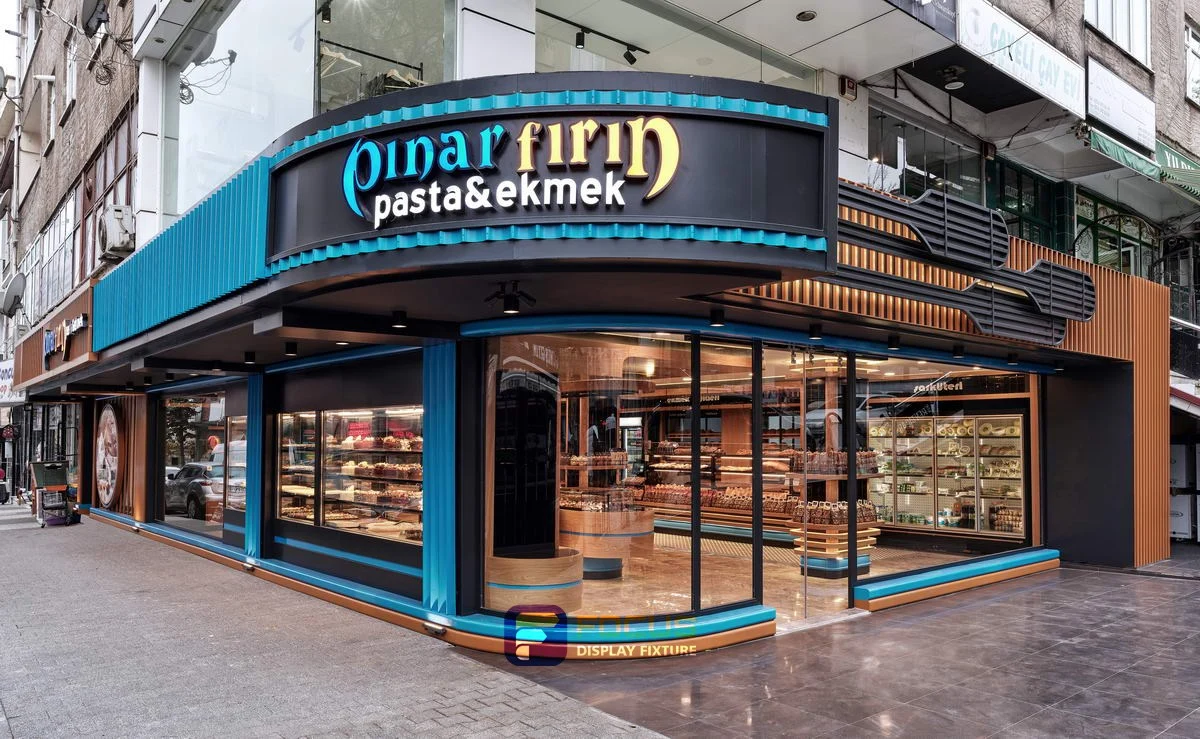
Store 01 · Bakery interior references
- Market
- Design reference
- Store format
- Store layout reference
- Project scale
- Project-specific
Challenge
Coordinate bread and packaged bakery goods with tray fit and replenishment.
Planning response
Bring tray width, tray depth, shelf spacing, door opening onto the fixture review record.
Reference interpretation
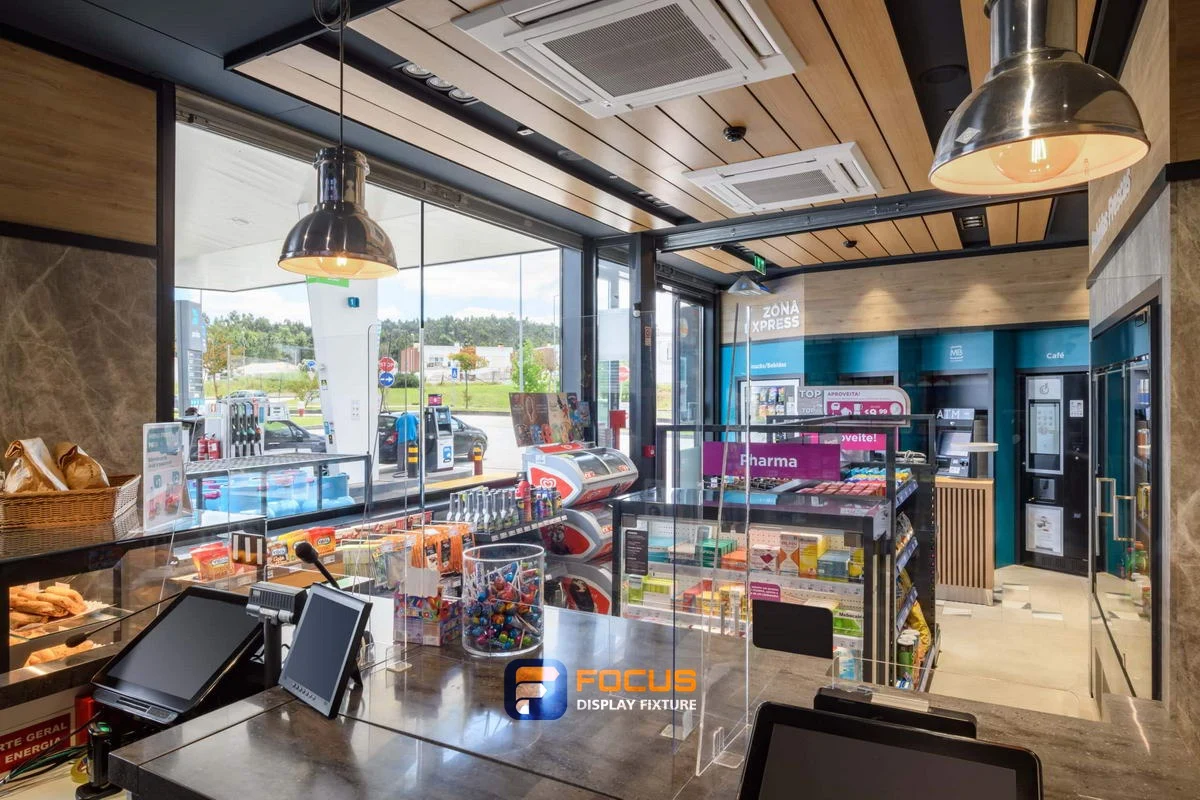
The image illustrates an arrangement; installed quantities and site dimensions follow the project brief.
Explore More Store ArrangementsCompare one controlled basis.
Turn the review into an order record.
Repeat the critical measurement after finishes and retained equipment are accounted for. Put unresolved dimensions on the drawing as open items rather than using an image estimate. Show the door fully open and test the removal path with a representative tray. Keep the decision with the selected fixture reference, quantities and drawing revision.
Review FOCUS capabilities →What still needs configuration confirmation.
AI-assisted purchasing guidance with illustrative calculations; project engineering remains configuration-specific.
Prepare the required inputs →Avoid these shortcuts.
- Treating a reference image as an approved production specification.
- Comparing suppliers without identical dimensions, quantities and delivery scope.
- Separating material, lighting or hardware decisions from the drawing revision.
- Leaving packing, local installation and site interfaces undefined.
Before the next approval.
Download this guide and checklist ↓- Tray width: Compare the actual tray width with the clear opening between supports and doors.
- Tray depth: Check the loaded tray depth against the shelf, front restraint and staff lifting space.
- Shelf spacing: Include the height of the baked product, labels and the lifting angle when setting the shelf interval.
- Door opening: Show the door fully open and test the removal path with a representative tray.
- Attach the measurement record and the selected drawing revision
- Mark unresolved points and assign a responsible project contact
- Record each open point, owner, due date and required evidence.
Answers to the next practical questions.
01What information is needed for this bakery displays measurement check?+
Provide tray width, tray depth, shelf spacing, door opening, the fixture reference and its drawing revision. Compare the actual tray width with the clear opening between supports and doors.
02Why should I check tray fit and replenishment?+
Using tray nominal size instead of rim-to-rim size. Check the loaded tray depth against the shelf, front restraint and staff lifting space.
03Does this measurement record confirm a price or product rating?+
No. It identifies the inputs needed for a configuration review. Dimensions, documented performance, included items, quantities and delivery terms must be confirmed for the selected assembly.
Trace the supporting information.
Current dimension catalog ↗Updated fixture dimensions, series and configuration scope.
Content review policyGuidance published 2026-09-15. Content updated: 2026-10-22. Project engineering approval and physical testing are separate.
Move from research to a fixture specification.
Keep building the specification.
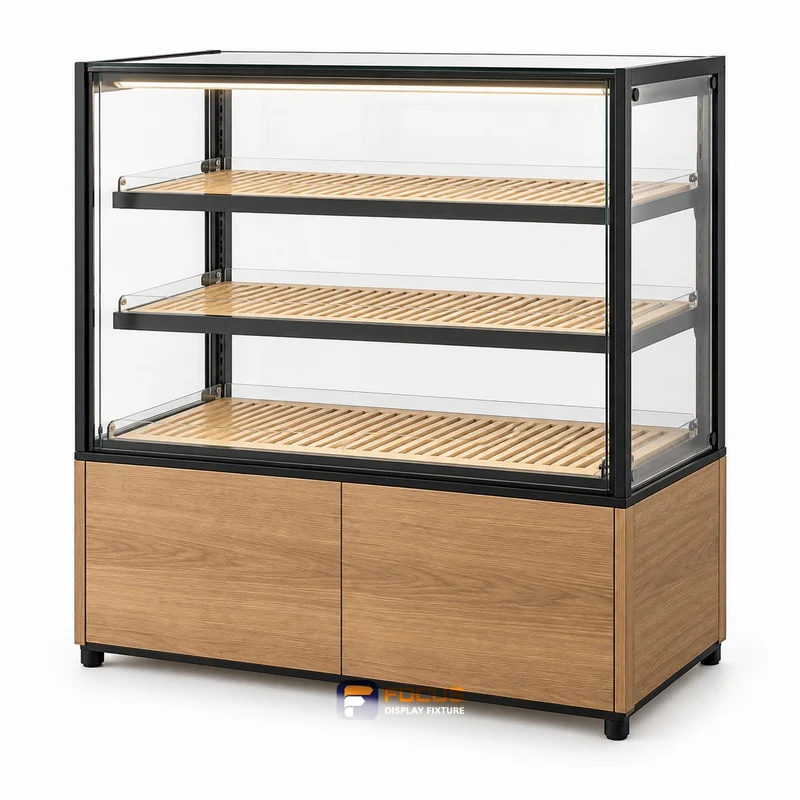
How to Choose the Bakery Displays Configuration
For bakery displays, begin with tray fit and replenishment. Compare the actual tray width with the clear opening between supports and doors. Prepare a configuration comparison covering tray width, tray depth, shelf spacing, door opening. An attractive individual cabinet may require ends, supports or neighboring fixtures to operate as intended. Review the complete combination and identify components supplied by others.
Read next →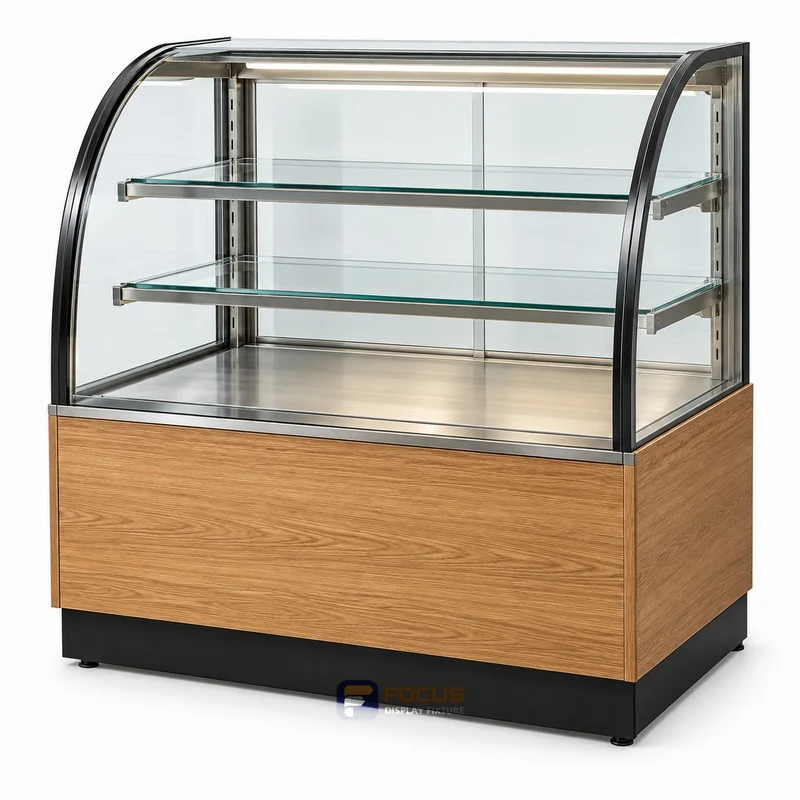
Planning Merchandise Capacity for Bakery Displays
For bakery displays, begin with tray fit and replenishment. Compare the actual tray width with the clear opening between supports and doors. Prepare a merchandise capacity worksheet covering tray width, tray depth, shelf spacing, door opening. For angled shelves, hooks, trays and irregular products, use a representative arrangement rather than applying a rectangular-grid calculation. Check item mass, distribution and the verified assembly loading conditions separately.
Read next →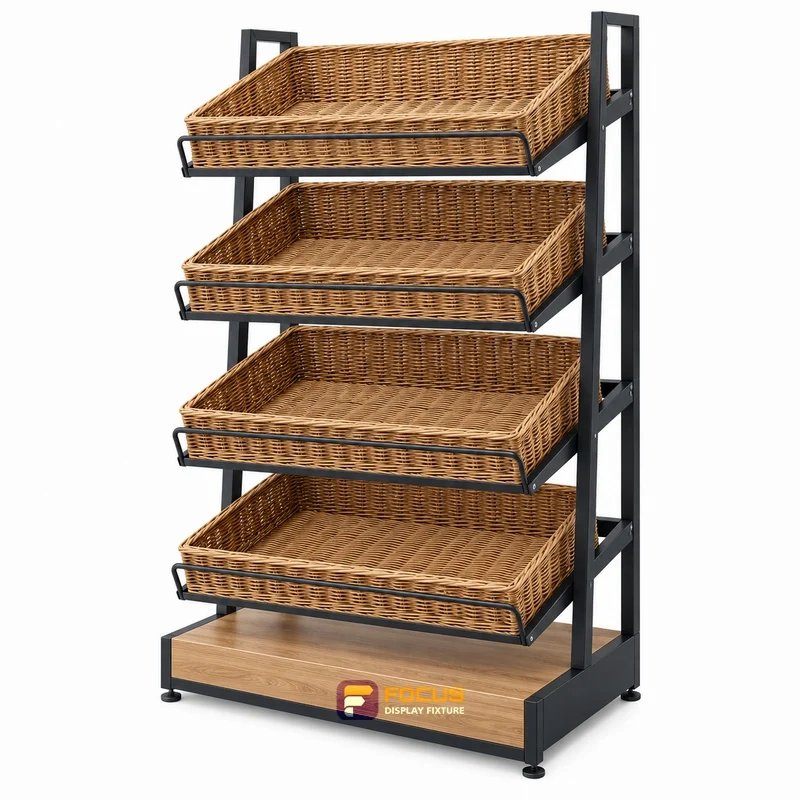
Choosing Materials and Finishes for Bakery Displays
For bakery displays, begin with tray fit and replenishment. Compare the actual tray width with the clear opening between supports and doors. Prepare a material and finish schedule covering tray width, tray depth, shelf spacing, door opening. Compare samples in the intended lighting and cleaning conditions. Record what was approved and which fixture references it applies to, including visible joints and replacement components.
Read next →Request a configuration for your next fixture order.
Send available dimensions, merchandise package sizes, cabinet quantities, destination and required options. FOCUS can review a specific configuration and quotation scope.
Request a Fixture Quote