Define
Measured site, merchandise and equipment.
 Start a Project ↗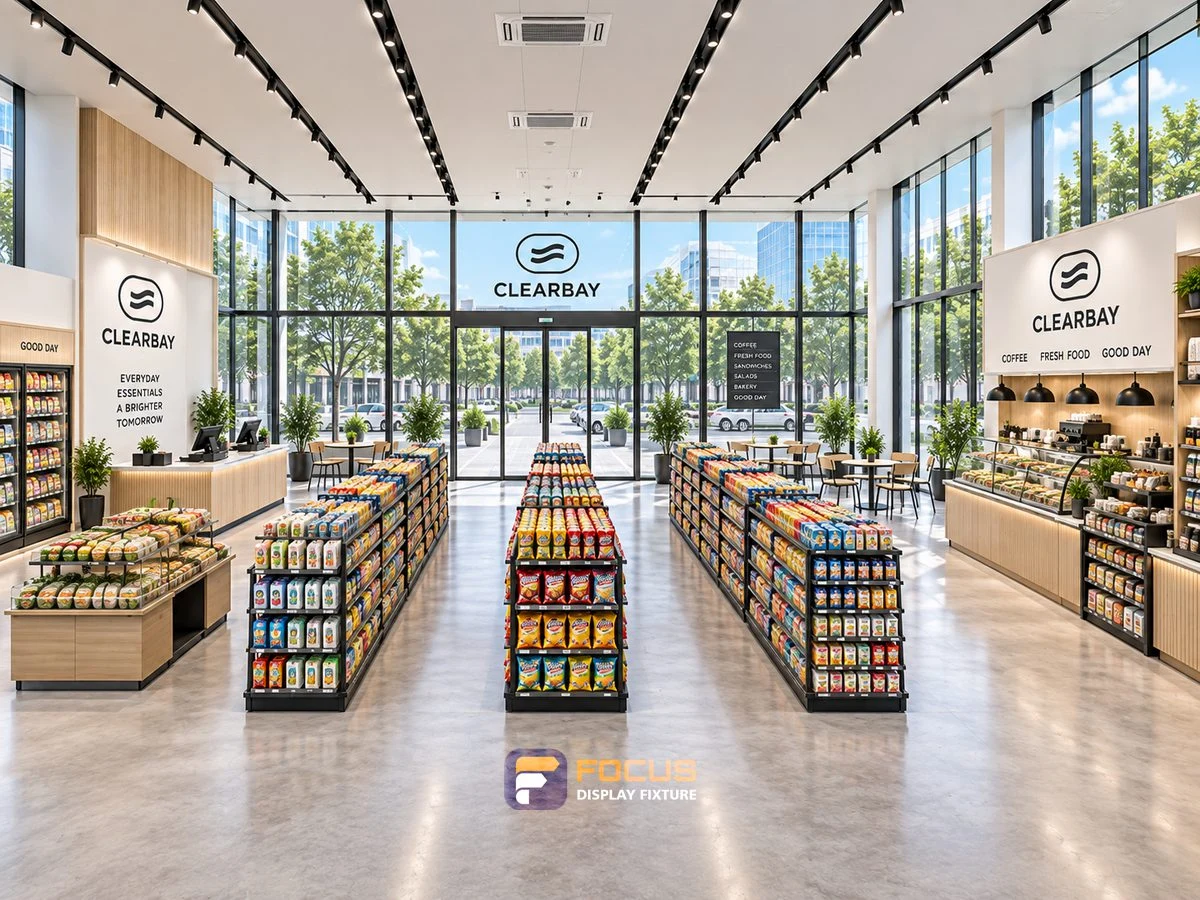
COMPLETE STORE SOLUTION
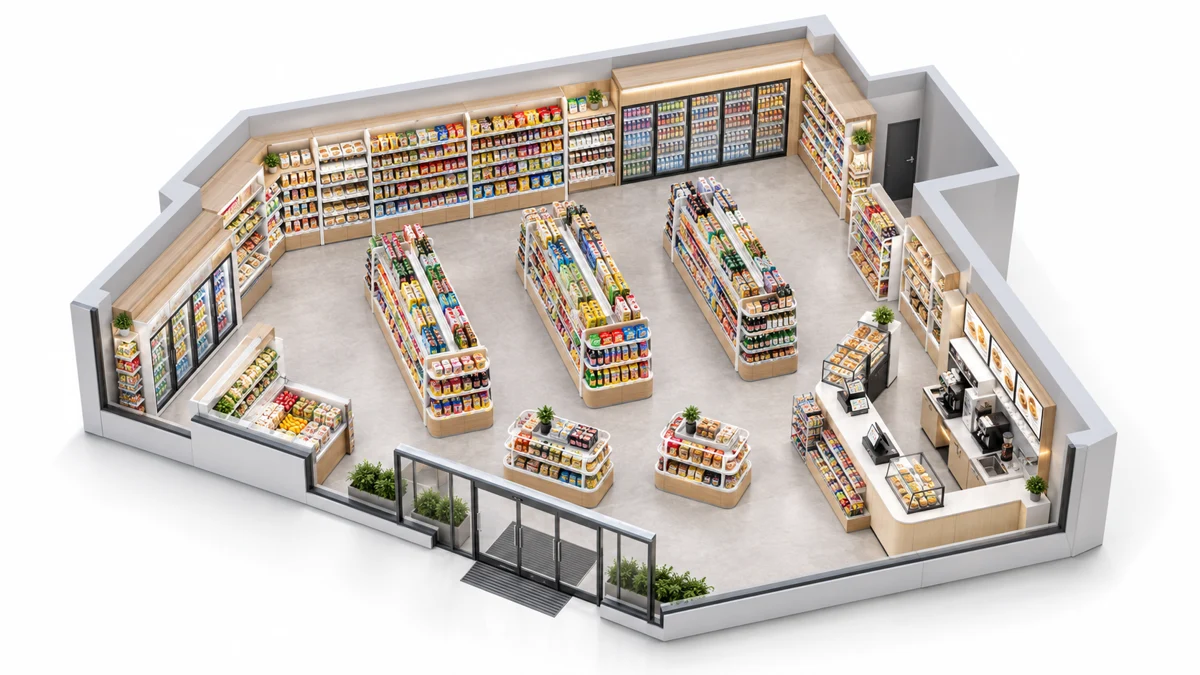
Make the perimeter and compact islands work together.
For mini markets, start with the merchandise, retained equipment and the daily work of your team.
wall conditions and shelf access
starter and add-on bays
aisle ends and changing campaigns
staff-side workflow
package changes and hook spacing
weight distribution and restocking
| Planning zone | Fixture system | Information to prepare |
|---|---|---|
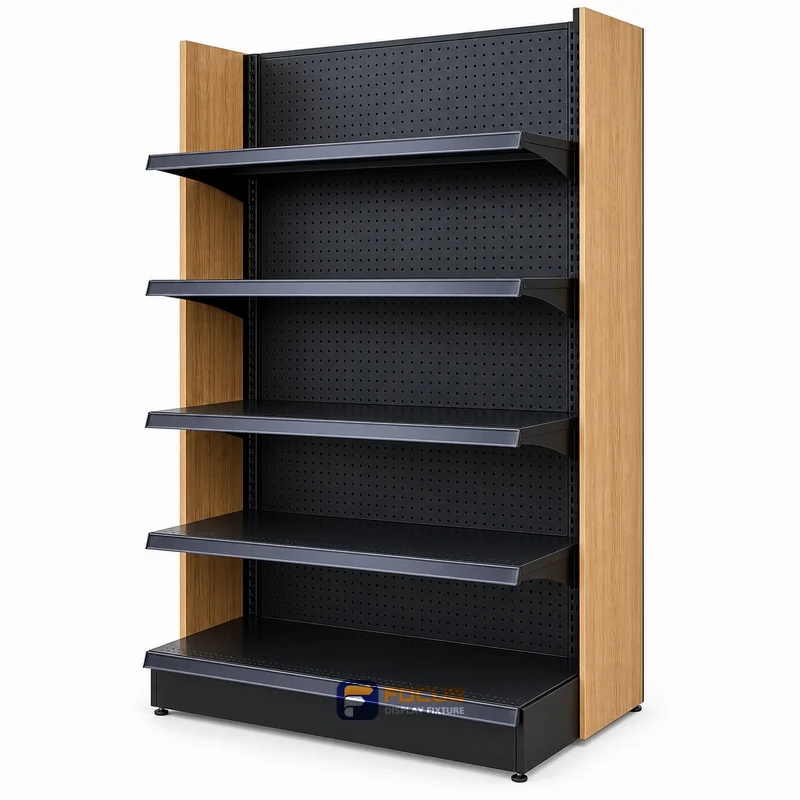
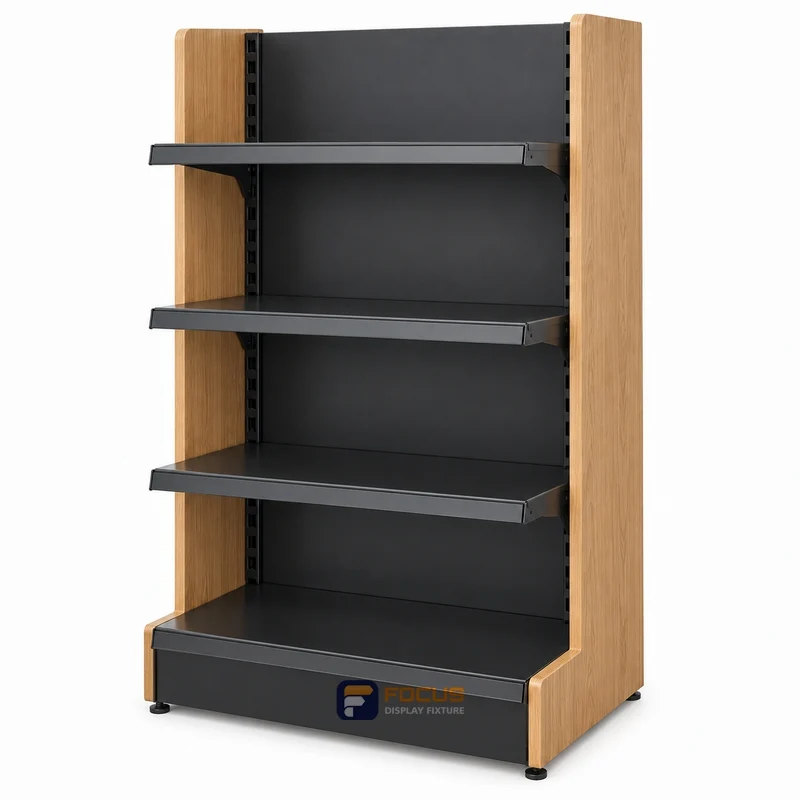
| Z1 | Wall Shelving | overall height / fixing locations |
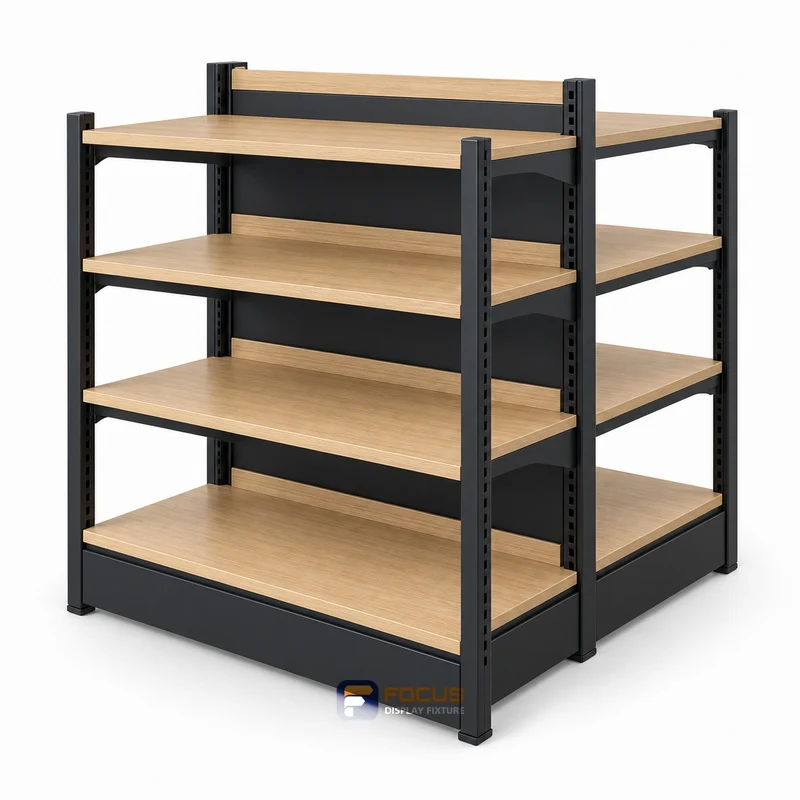
| Z2 | Gondola Shelving | bay width / overall run length |
| Z3 | End Cap Displays | end width / projection |
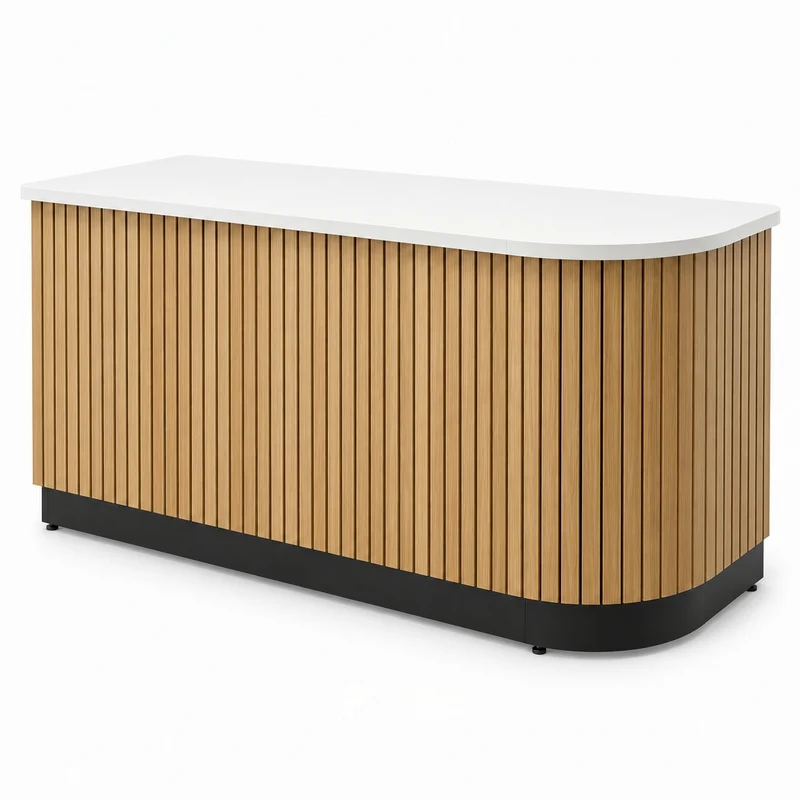
| Z4 | Checkout Counters | counter length / worktop depth |
| Z5 | Snack & Candy Racks | pack width / hook projection |
| Z6 | Beverage Display Racks | pack weight / shelf depth |
Layout imagery illustrates design possibilities. The measured plan determines final zoning, quantities and site requirements.
Coordinate the visible finishes across zones, then review the construction needed for each operation. Coffee and food areas need equipment-specific interfaces; shelf systems need merchandise and loading requirements. Record the equipment supplied by others and the responsibility for site connections.
Keep decisions clear from the first layout to the final delivery scope.
Measured site, merchandise and equipment.
Fixture configuration, finishes and interfaces.
Drawing revision, samples and supply schedule.
Production checks, package list and installation handoff.
Start with the product list or floor plan. The project quotation identifies the selected fixtures, quantities, finishes and items supplied by others.
Use the selected reference to begin the discussion. The quotation and approved drawings record the actual dimensions, configuration and materials.
Equipment, freight and on-site work are included only when listed in the agreed project scope. Share the destination and equipment models early.
Add references to your project list and prepare a brief. Send it to FOCUS by email or WhatsApp, then share your plan, quantities and target schedule.
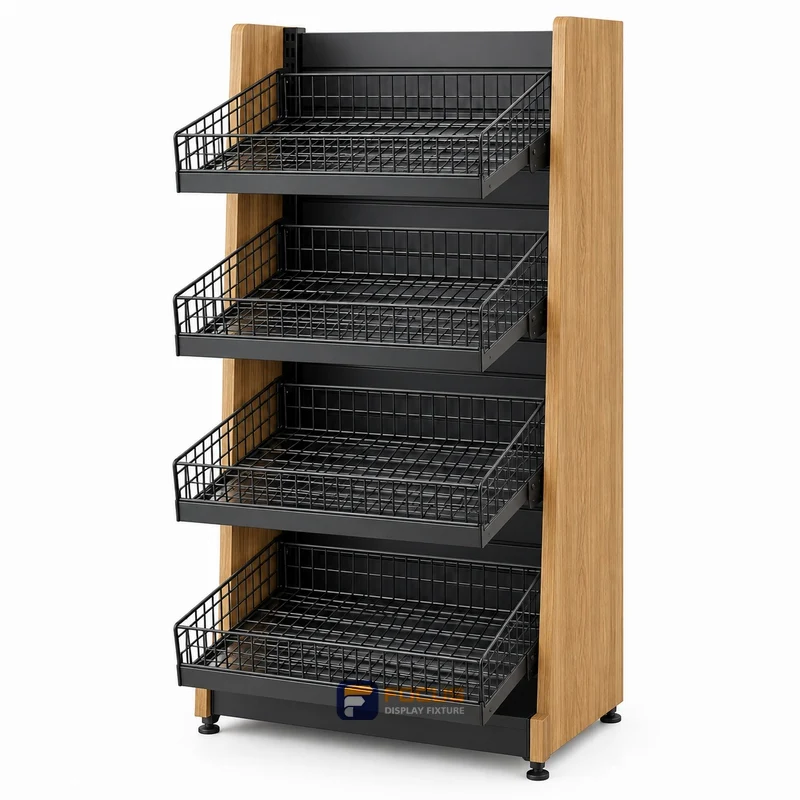
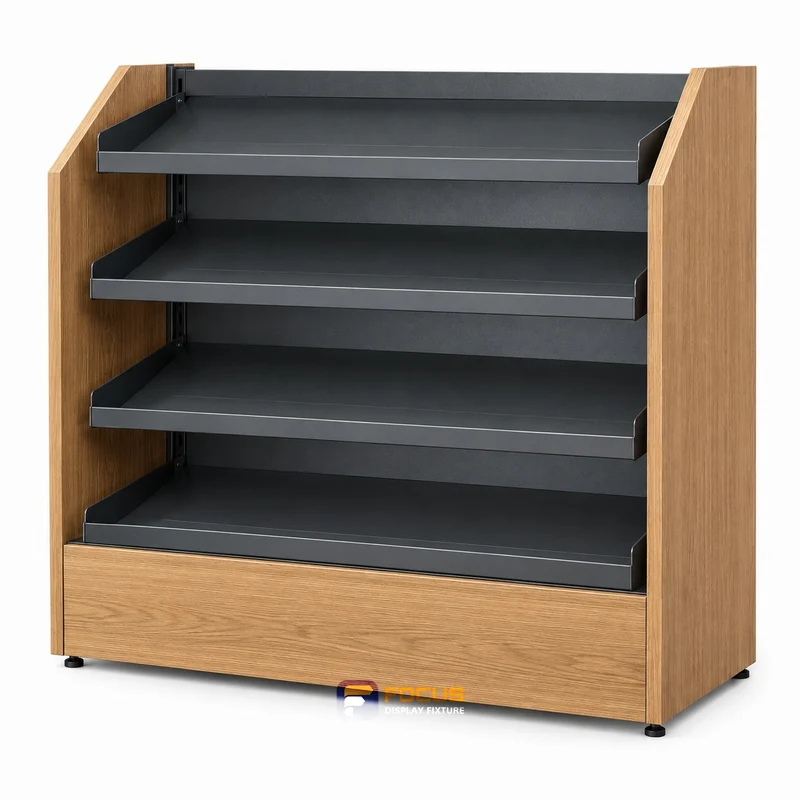
In the wood-finish B series, a 930 mm starter and a 900 mm add-on have different listed widths. One starter plus two add-ons totals 2730 mm, before separately specified end details. Other series use different dimensions.
Keep series togetherSingle-sided, double-sided and end units have different depths. Use a complete listed W × D × H combination.
Separate levels and accessoriesShelf layers, hook rows, lightboxes and base cabinets are separate configuration features.
Coordinate equipment separatelyConfirm service openings, loads and connection details for the selected assembly.
Keep frequently requested items easy to find and the checkout route legible.
Coordinate shelf visibility, product categories and promotion changes.
Separate customer reach from staff stocking and equipment service.
Keep surfaces, removable components and equipment access practical.
| System | Operating task | Configuration decision |
|---|---|---|
| Wall Shelving | perimeter merchandise | wall conditions and shelf access |
| Gondola Shelving | aisle merchandise | starter and add-on bays |
| End Cap Displays | promotional goods | aisle ends and changing campaigns |
| Checkout Counters | payment and bagging | staff-side workflow |
| Snack & Candy Racks | bagged snacks and confectionery | package changes and hook spacing |
| Beverage Display Racks | bottles and multipacks | weight distribution and restocking |
A consistent palette connects shelving, counters and service areas. Review visible finishes together, then specify the construction and cleaning needs of each zone. Equipment clearances and power access come from the selected equipment documents.
The same cooperation process connects design, engineering, manufacturing, delivery and ongoing support.
Project brief and responsibility list
Zoning plan, fixture layout and visual direction
Shop drawings, construction and interface schedule
Material samples or prototype approval as scoped
Wood, metal, finishing and assembled components
Dimension, finish, operation and fit records
Protected packages, codes and hardware kits
Loading and shipping documentation
Assembly coordination and installation issue record
Parts identification, corrective action and revision history
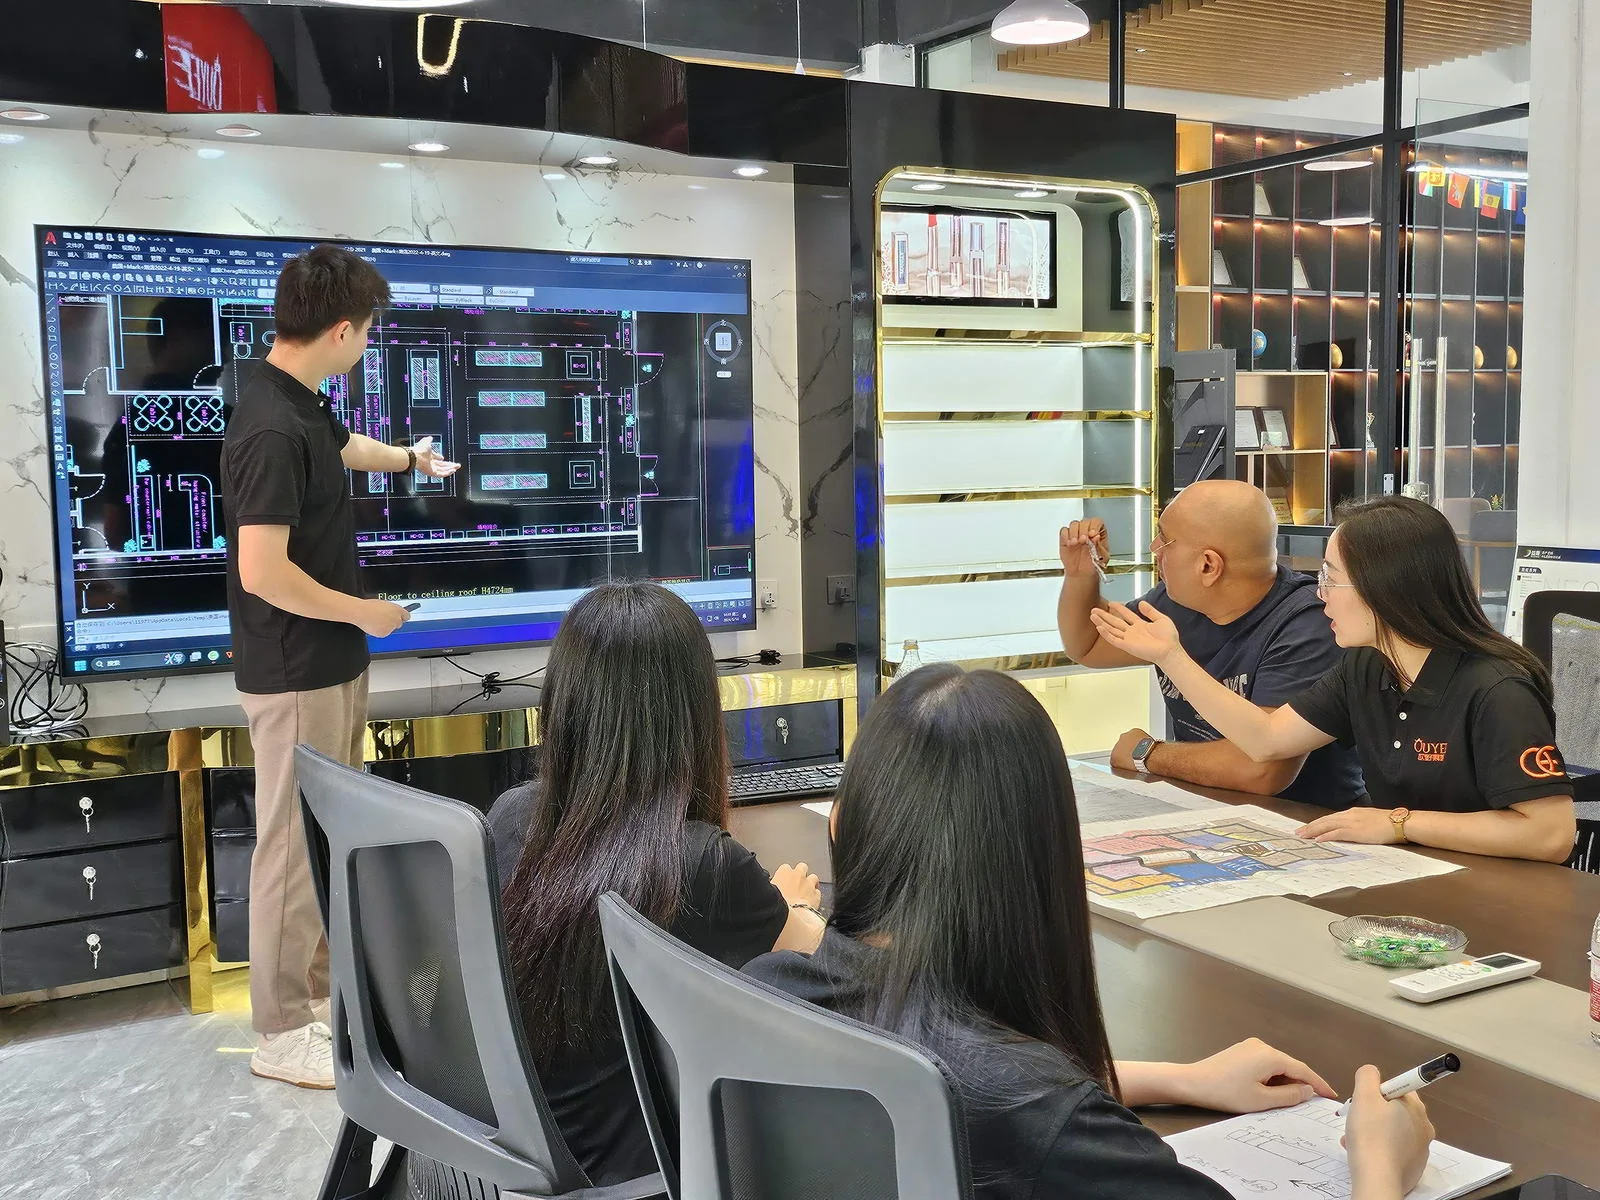
Design conversations connect floor plans, merchandise requirements and display references before detailing.
Explore the photographs →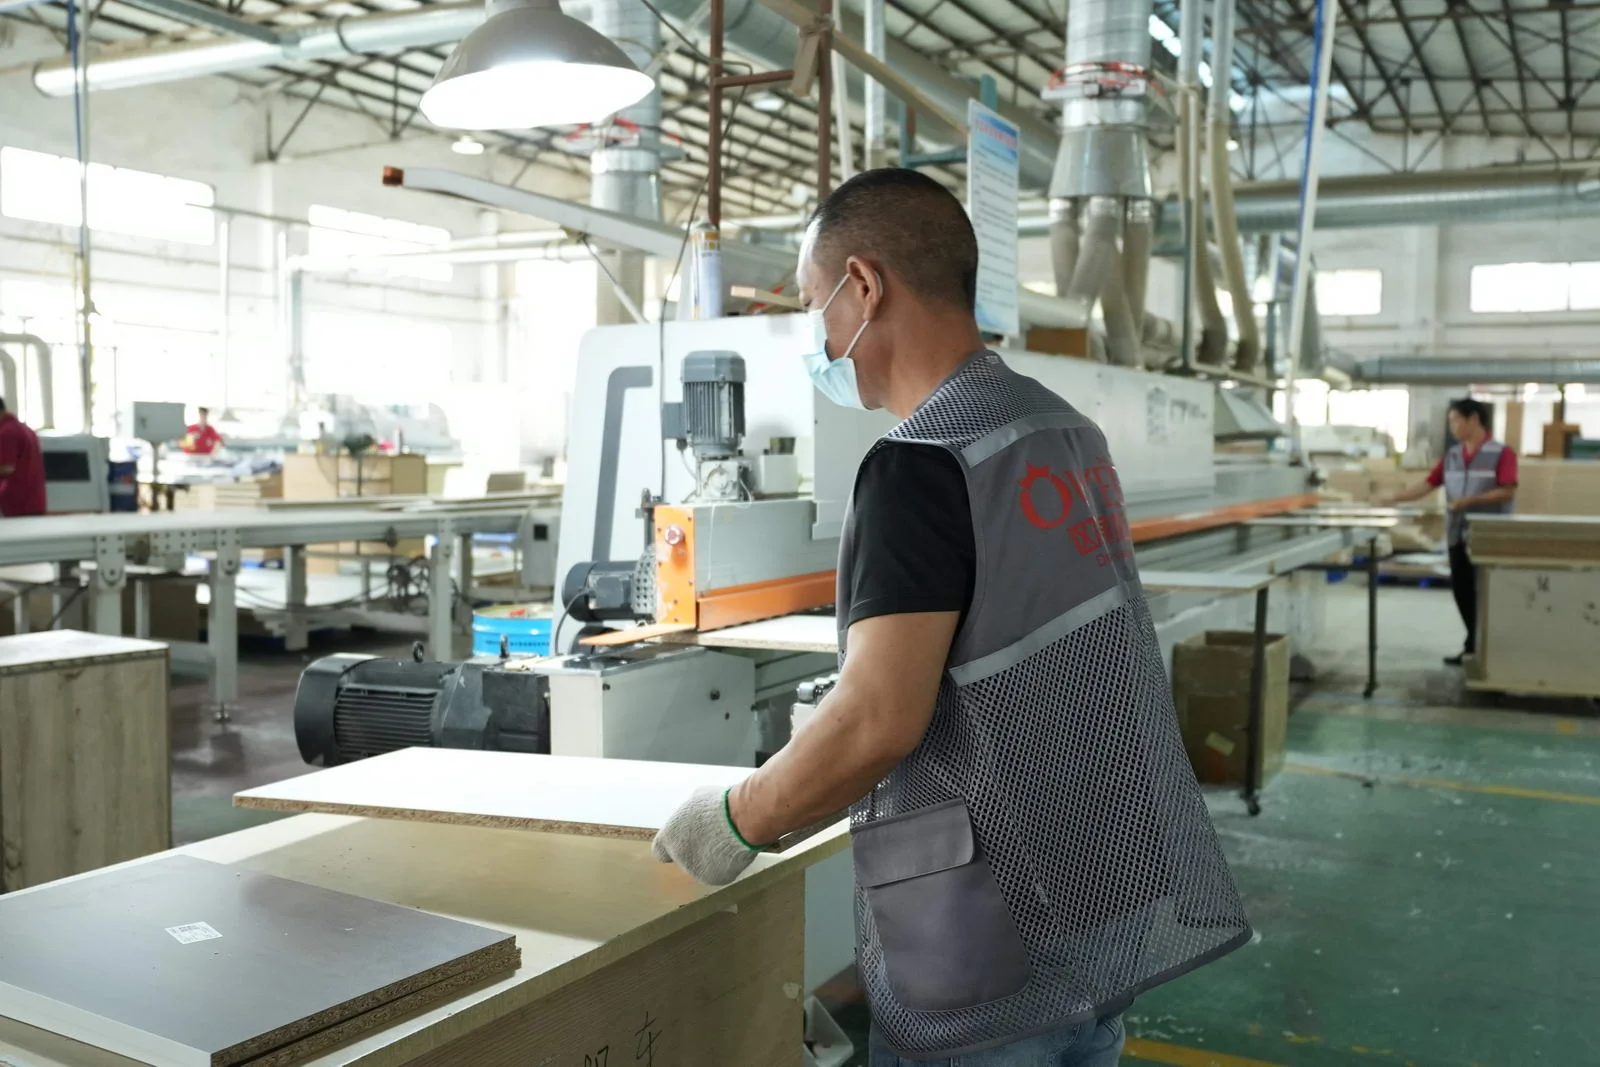
Machining, metal processing and surface preparation are distinct steps in translating drawings into fixture components.
Explore the photographs →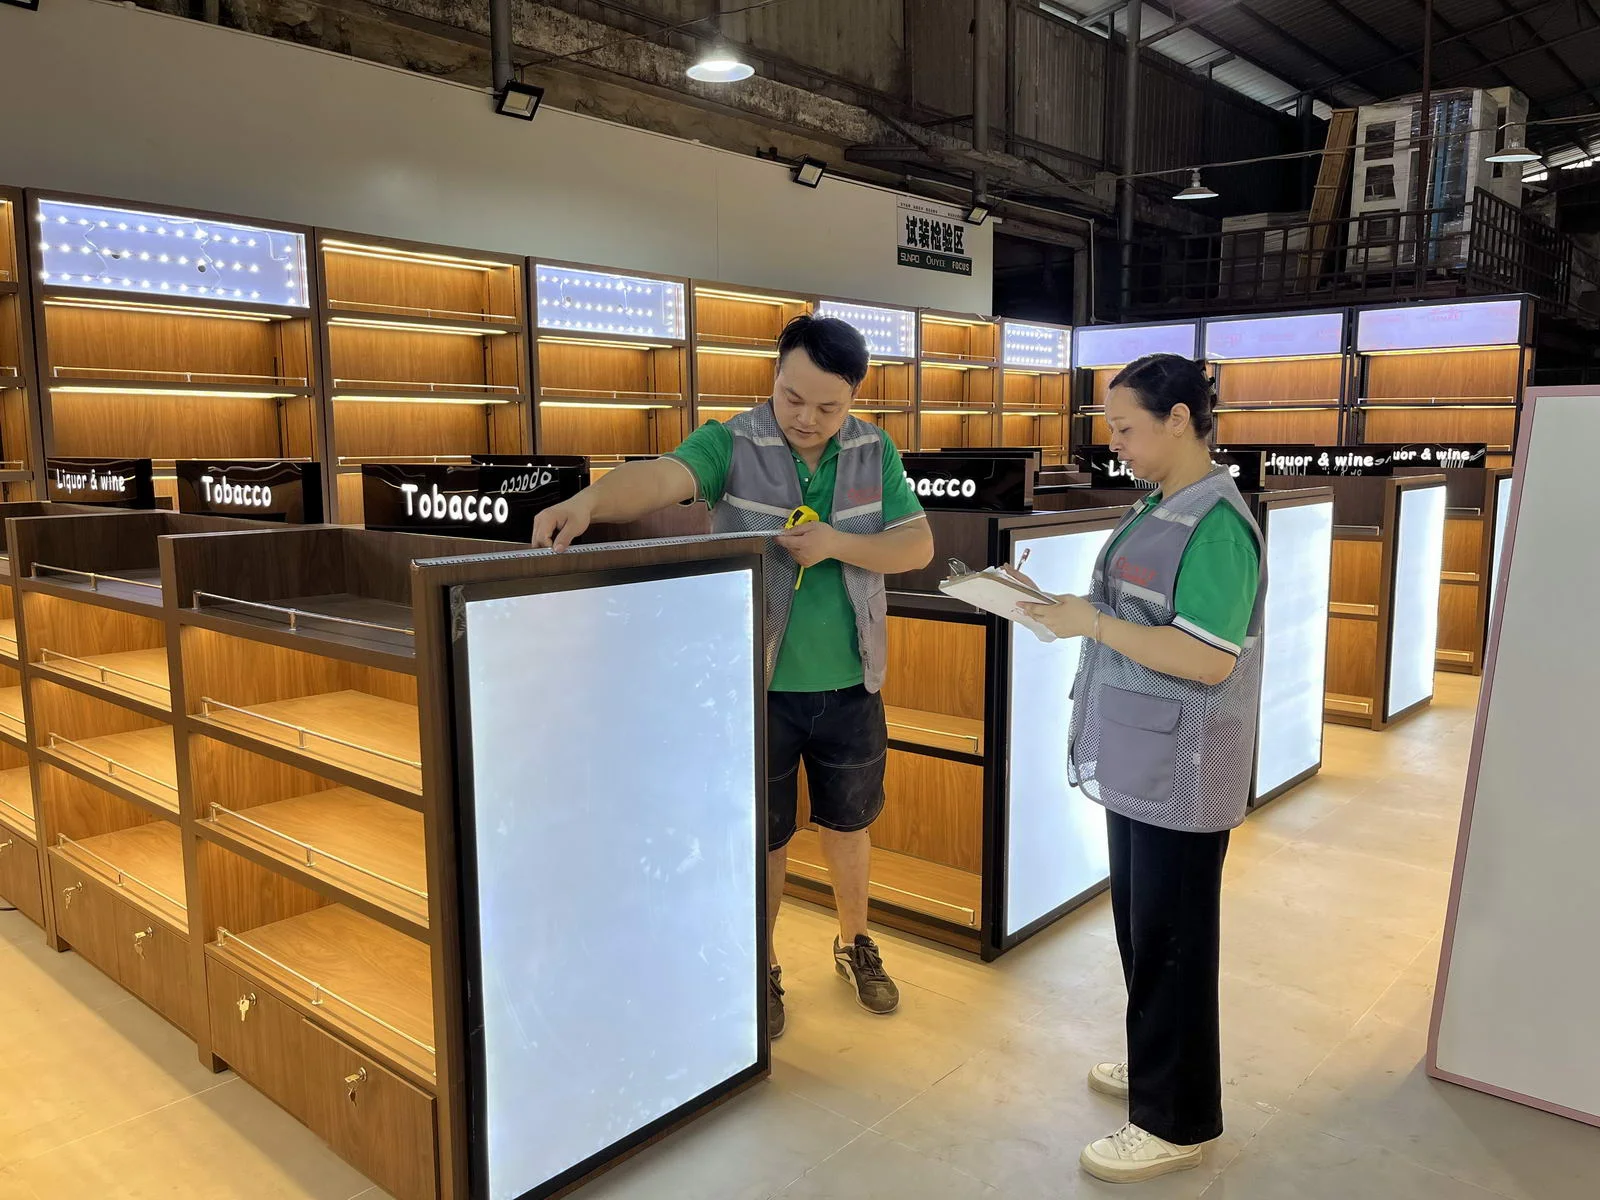
Hands-on fixture checks connect the finished assembly with the dimensions and details agreed for the project.
Explore the photographs →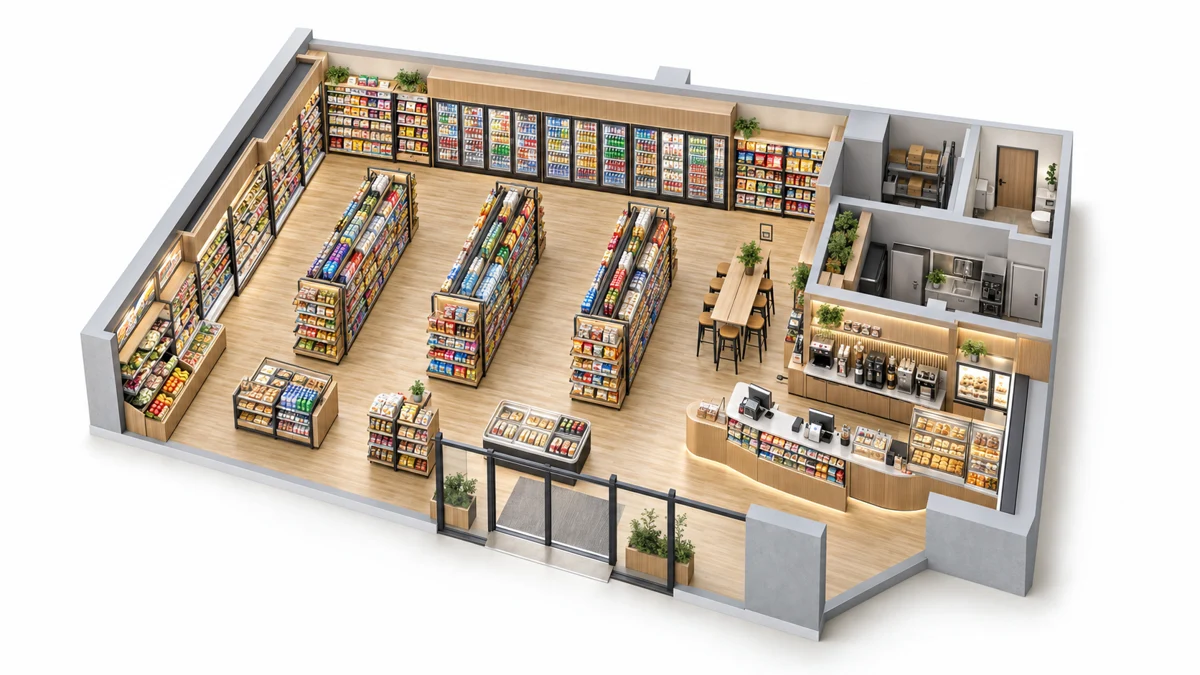
Choose the layout from the stock, customer journey and daily staff work before fixing the cabinet count.
Read the complete process →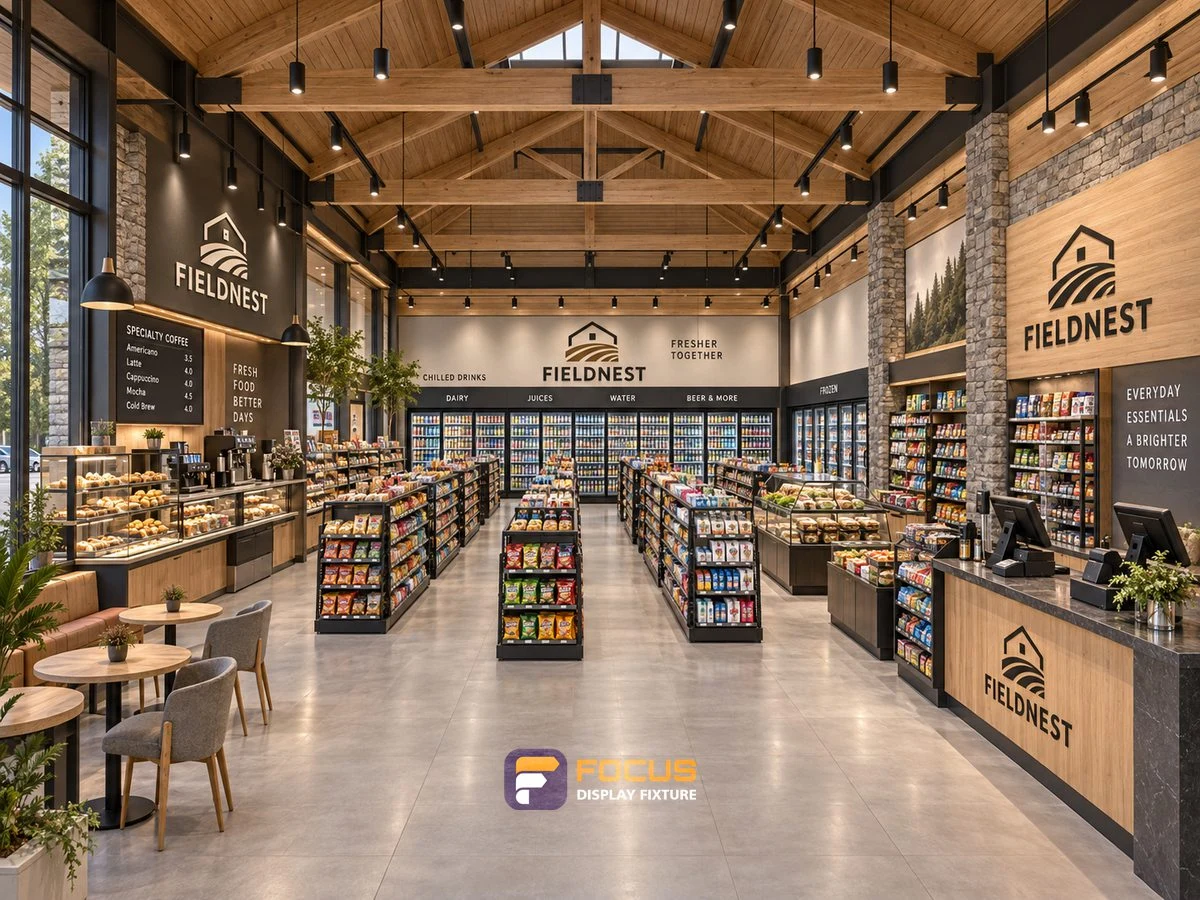
Use a clear hierarchy for new products, premium food and beverages, everyday essentials and complementary items.
Read the complete process →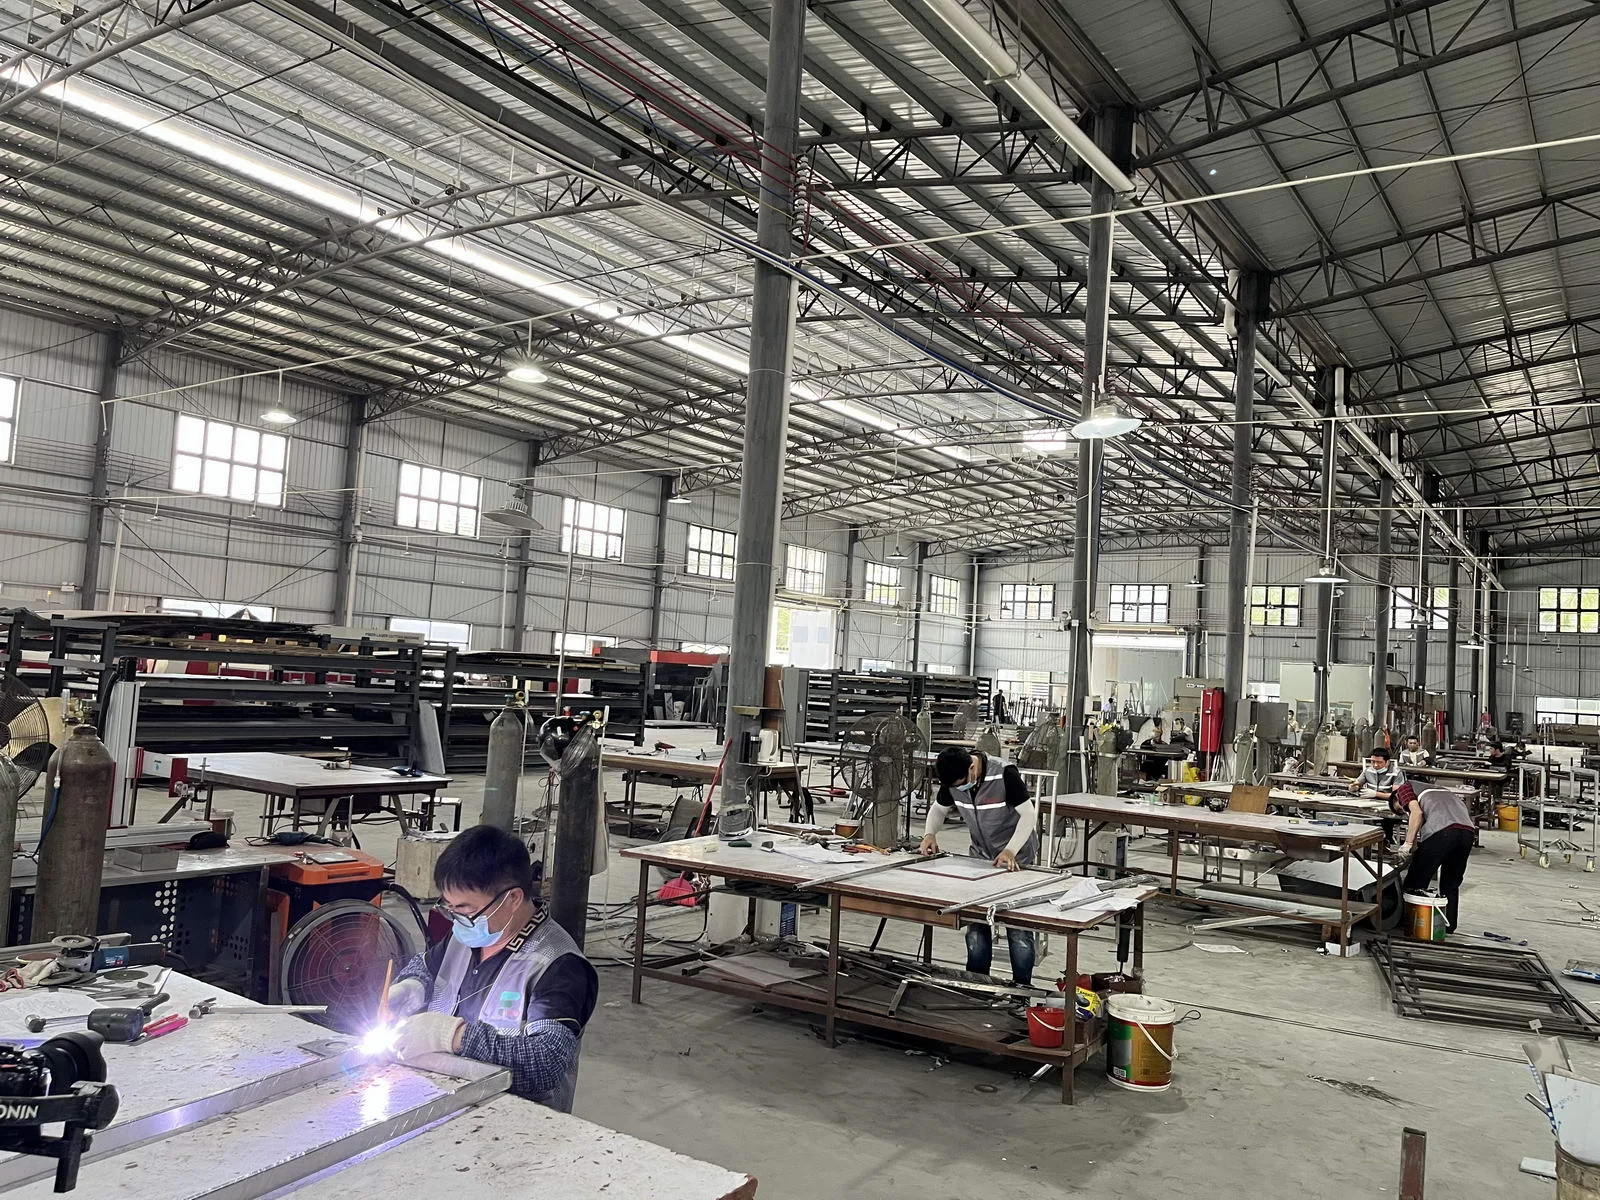
Match the structure, visible finish and cleaning requirements to the way each display will be used.
Read the complete process →Share the cabinet type, dimensions, merchandise and quantity. We will review display, storage and combination requirements for your quotation.
Start with a fixture reference, a floor plan or a description of the store you want to create.
Browse fixtures → Open WhatsApp ↗